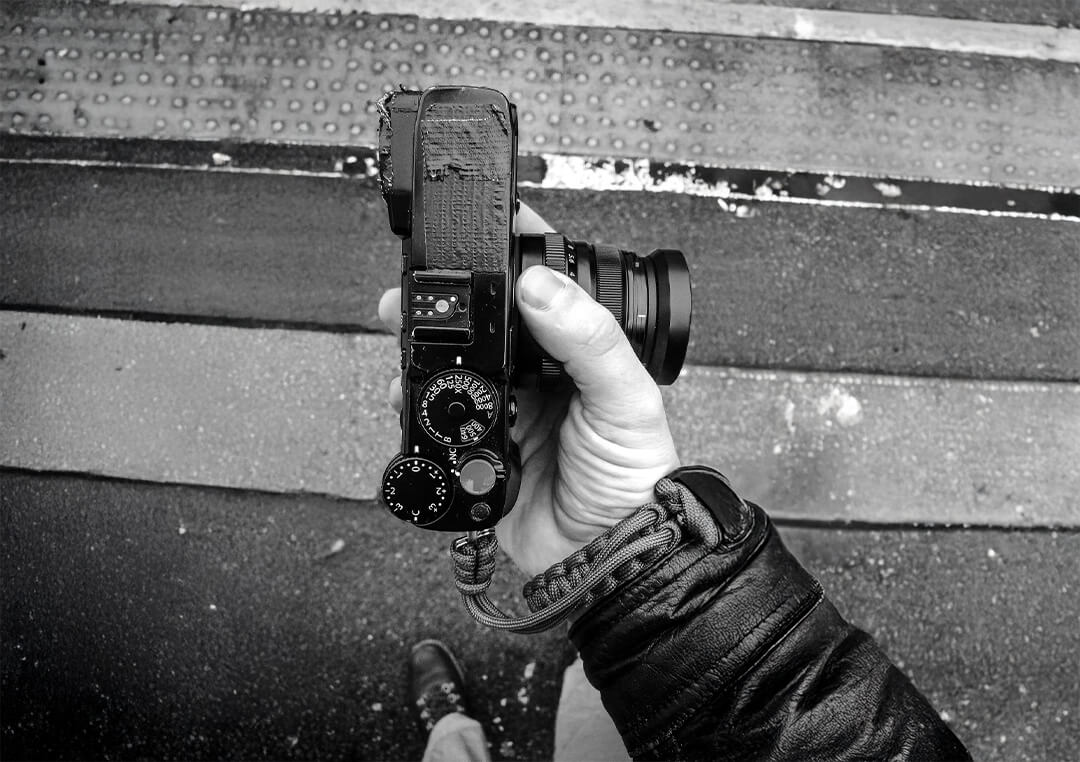
Understanding your camera’s settings is essential for capturing high-quality images in different environments. Whether you are a beginner or an experienced photographer, knowing how to adjust key settings will give you greater creative control over your shots. This guide covers ten essential camera settings that every photographer should master.
1. Aperture (f-stop)
Aperture controls the size of the opening in the lens that allows light to enter the camera. It is measured in f-stops (e.g., f/1.8, f/5.6, f/11).
- Wide aperture (low f-number, e.g., f/1.8) creates a shallow depth of field, ideal for portraits and blurred backgrounds.
- Narrow aperture (high f-number, e.g., f/11 or f/16) keeps more of the scene in focus, useful for landscapes.
2. Shutter Speed
Shutter speed determines how long the camera sensor is exposed to light. It is measured in seconds or fractions of a second (e.g., 1/500s, 1/30s).
- Fast shutter speed (e.g., 1/1000s) freezes motion, great for sports or wildlife photography.
- Slow shutter speed (e.g., 1/10s or longer) creates motion blur, useful for waterfalls or light trails.
3. ISO Sensitivity
ISO measures the sensor’s sensitivity to light. A lower ISO results in cleaner images, while a higher ISO increases brightness but adds noise.
- Low ISO (100-400) is ideal for bright conditions.
- High ISO (800-3200+) helps in low light but may introduce grain.
4. White Balance (WB)
White balance adjusts color temperature to ensure accurate colors in different lighting conditions.
- Daylight (5500K) for natural light photography.
- Tungsten (3200K) to reduce warm indoor lighting.
- Custom WB allows manual adjustment for precise color correction.
5. Metering Modes
Metering determines how the camera measures light for exposure. Common modes include:
- Matrix/Evaluative Metering: Balances exposure across the frame, ideal for general photography.
- Center-Weighted Metering: Prioritizes the center of the image, useful for portraits.
- Spot Metering: Measures light at a specific point, great for high-contrast scenes.
6. Focus Modes
Autofocus settings help control how the camera locks onto subjects.
- Single Autofocus (AF-S or One-Shot AF): Best for still subjects.
- Continuous Autofocus (AF-C or AI Servo): Tracks moving subjects.
- Manual Focus (MF): Gives full control, useful for macro or low-light shots.
7. Drive Mode (Shooting Mode)
This setting controls how many shots the camera takes when the shutter is pressed.
- Single Shot: Captures one image per shutter press.
- Continuous/Burst Mode: Takes multiple shots in quick succession, great for action photography.
- Timer Mode: Delays the shot, useful for self-portraits and long exposures.
8. Exposure Compensation (+/- EV)
Exposure compensation allows you to override automatic exposure settings.
- Increase (+EV): Brightens the image, useful in backlit scenes.
- Decrease (-EV): Darkens the image, helpful in overly bright conditions.
9. File Format (RAW vs. JPEG)
Choosing the right file format affects image quality and post-processing flexibility.
- RAW: Uncompressed image data with better editing potential but larger file sizes.
- JPEG: Processed images with smaller file sizes but less flexibility in editing.
10. Image Stabilization (IS/VR)
Image stabilization reduces blur caused by camera shake.
- Optical Stabilization: Found in lenses and helps with handheld shots.
- Sensor-Shift Stabilization: Built into the camera body for steadier images.
- Turn Off Stabilization: Recommended when using a tripod.
Conclusion
Mastering these camera settings will give you better control over your photography. Each setting plays a role in determining exposure, sharpness, and image quality. The key is to practice and experiment with different combinations to see how they affect your photos.
Would you like a follow-up guide on how to apply these settings in real-world scenarios?